January 26, 2014

[Week 3] Lighting and FBO

Hello!

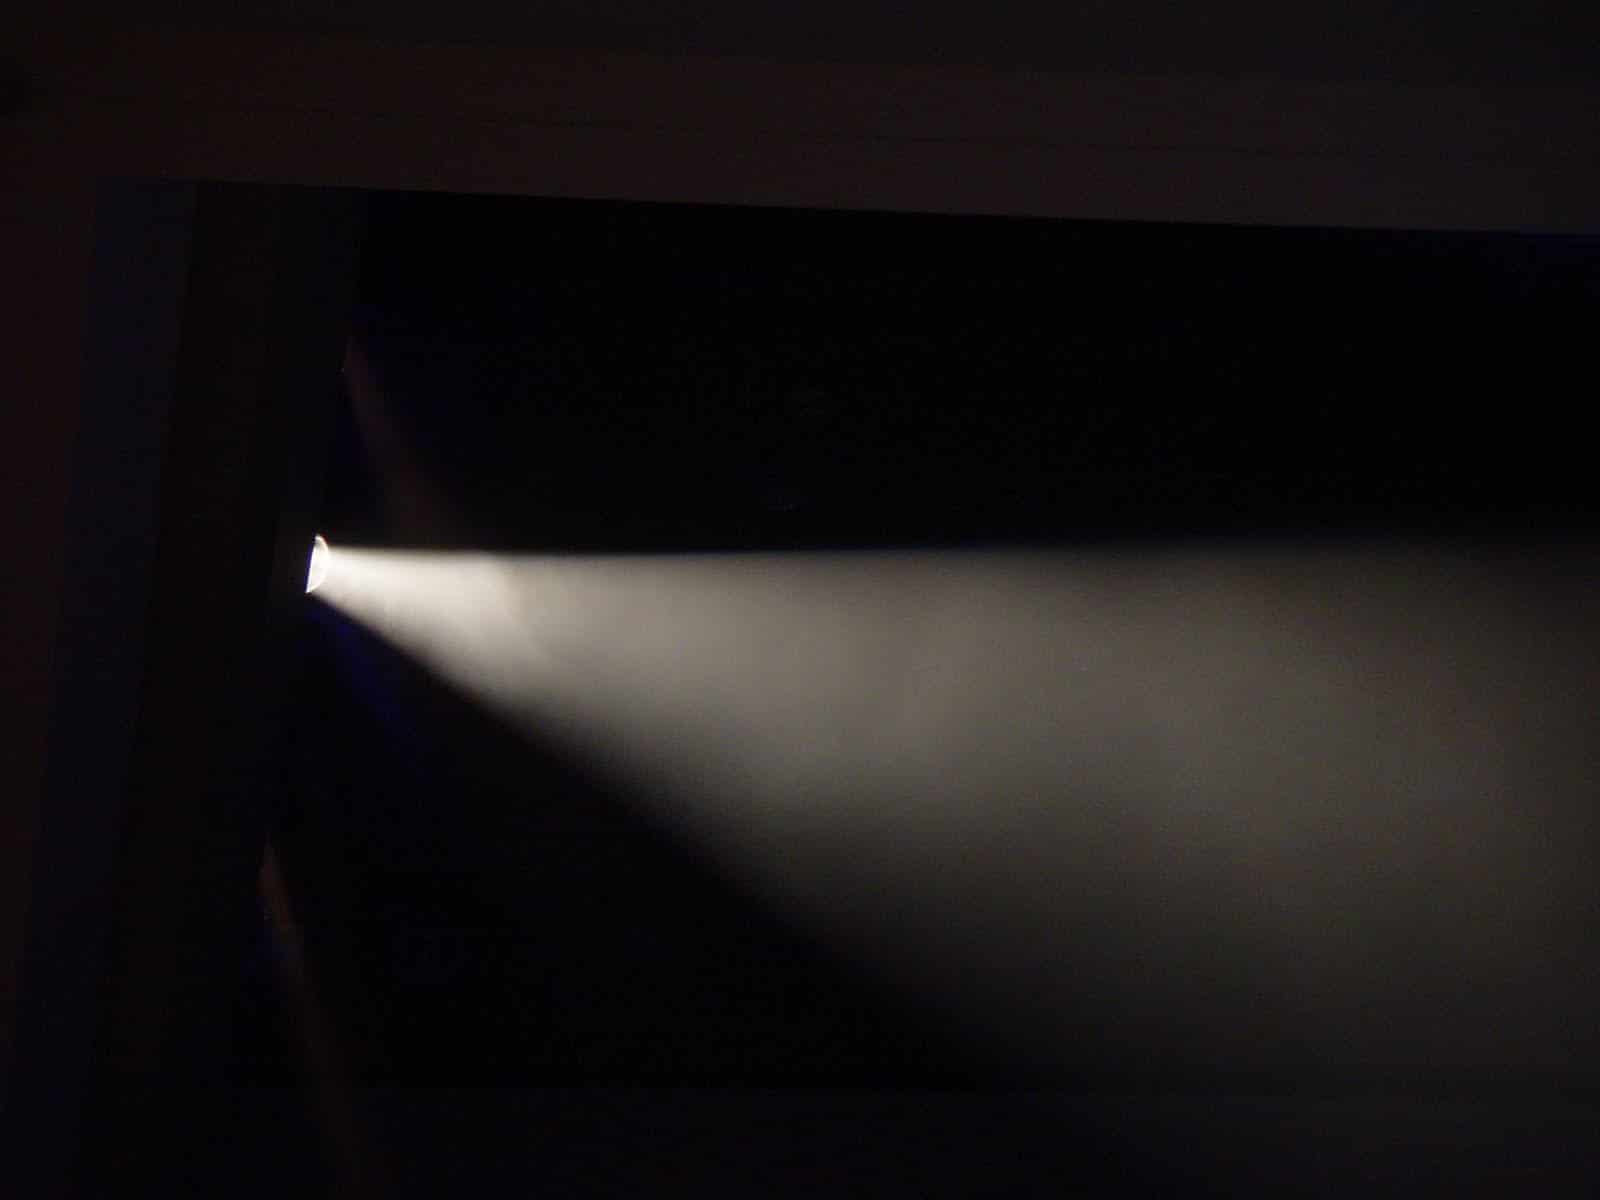
So week 3, things are starting to get really interesting. In the lectures we started going over the importance of lighting, and the major differences it can make in scenes. We were shown some examples of how by just using lighting alone, it could add direction for the player, as well change the mood of an scene.

We learnt that in OpenGL there are 4 different components of light; emission, ambient, diffuse, and specular.
Example of Specular, Diffuse, and Ambient
Example of Emission
Emission: Light that emits/originates specifically from an object, such as a lamp.
Ambient: A non directional light source; light that doesn't have an origin. All vertices in the scene are affected by this light component.When a light ray hits a surface, it is scattered equally in call directions.
Diffuse: Light ray  that comes from a light source and hits directly on different parts of an surface, changes depend on the vertex positions, and its orientation in relation to the light source.
Specular: Specular is the light component that creates highlights on a surface like mirror and metals, and changes in brightness depending on where it is viewed from. This component is usually used with materials.

Toon/Cel Shading was also covered covered in class which I was really looking forward to previously mentioned. From what I understood from cel shading, it still does make use of the 4 components of the light, but unlike how diffuse and specular lighting normally uses a continuous function, it uses a step function for lighting, giving it a more 'blocky" feeling. It was also explained that there are many ways to achieve this effect, some more efficient/less costly then others, but all generally the same concept.
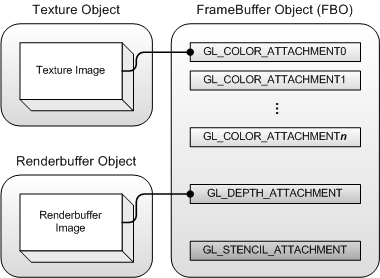
During the tutorials with Dan, we went over FBOs, and how they could be used. In previous semesters we have been only using the front and back buffers, where with FBOs, it does external buffering, we can buffer more complex things off-screen. We also went over how a FBO can be used with the main buffers, by binding the texture from the FBO to the back buffer. A benefit of using an FBO is that it not affected by depth, which means that you can apply multiple textures to it and it will work. Another use for FBOs is that all post processing effects can and are done through it. During the lecture, Dan made the analogy that the FBO can be compared to an powerbar, where it can hold multiple textures, which in out case we can only use 16.
FrameBuffer Object
This week I have begun to start deciding on which homework questions I am planning to do, as well as prepping the framework that I am planning to use.

- Jonathan S.


January 18, 2014

[Week 1&2] Stay Awhile and Listen...

Hello!
This is a development blog for Intermediate Computer Graphics, specifically for the development of my studios game Robopocalypse. This blog will also cover information taught in lectures/tutorials, which I can use at a later date.

I'm pretty excited for the topics that will be taught on, specifically shaders. For our game, as well as future projects, I'm interested in learning/implementing different shader that can be used to create effects such as bloom, HDR, cel shading as well as other effects such as bump/normal/displacement mapping.

One of my favorite examples of shader use is the cel shading from borderlands 2. I am really looking forward to learning more on how this effect is created.

Borderlands 2

In the past few lectures, we have gone over a review from previous classes, mainly reviewing the graphics pipeline, as well as an introduction to shaders. One topic that stood out to me was the use of normal and displacement mapping, and its use.

Base vs. Bump vs. Displacement Mapping

In the past two tutorials with Dan, we have gone over the basic set up of a framework we will be using for future tutorials. So far we have done a quick shader test, which was a pass-through that made the screen orange.

I am really looking forward to what will be taught semester, and to hopefully be able to implement them to give my studios, as well as future projects to give them a more professional look.

- Jonathan S.